Browser Extension - Arweave gateways in ArConnect
What are Arweave gateways and its integration with ArConnect?
Read more
A step-by-step guide on how to install and setup ArConnect.
To install the ArConnect extension in your web browser, follow these steps:
Head over to arconnect.io.
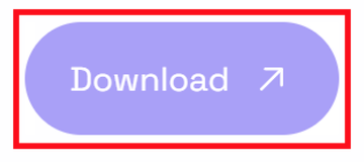
Click the “Download” button at the right side of the navbar.
You’ll be able to see the browsers ArConnect supports.
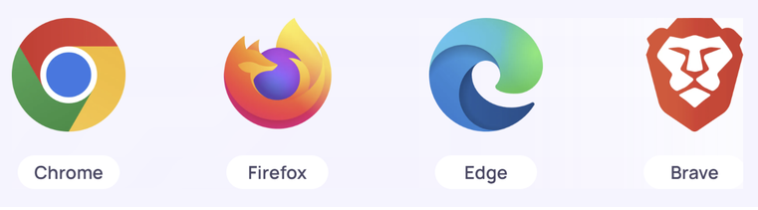
Depending on what browser you’re using currently and want to install ArConnect to, select your preferred browser.
The site will redirect you to the Chrome Extension Store or the Firefox Add-on Store.
Find the install button on the page and click it.
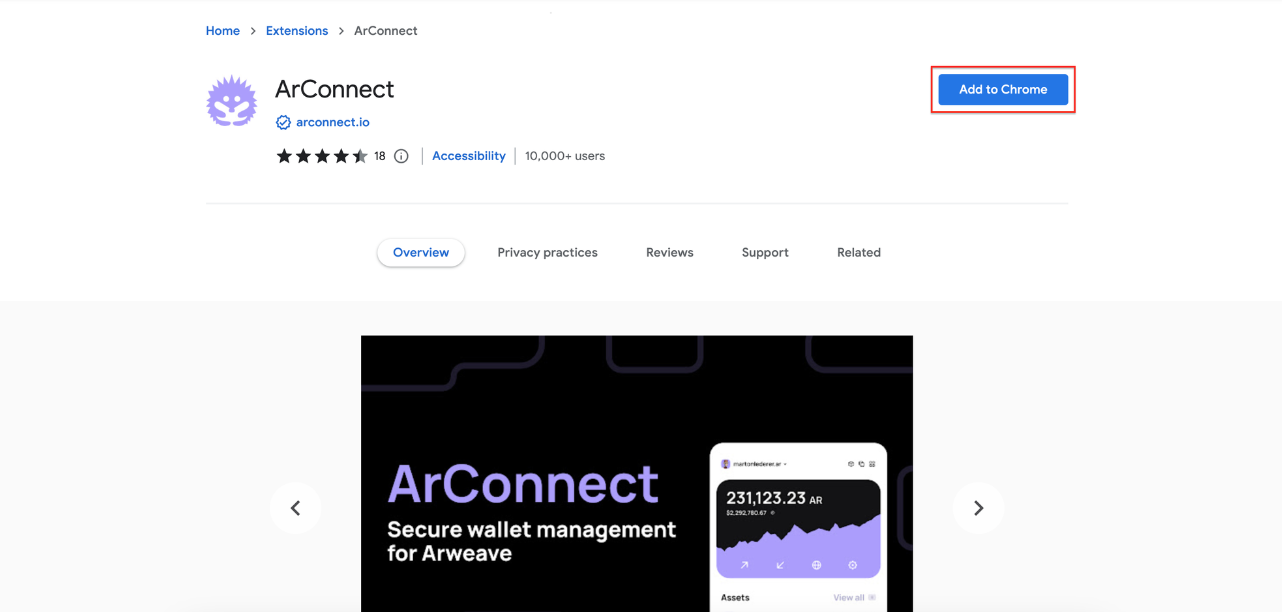
The browser will request your confirmation to install ArConnect.
Once you confirmed the installation, the extension will be added to the browser in a few seconds.
The extension will now ask you to proceed with the setup procedure.
ArConnect is a browser extension, meaning that you need to add it to your browser to function.
ArConnect uses the available browser APIs to create a secure environment for your favorite dApps to operate within.
These extension stores provide security and verify all extensions submitted to them. The Chrome Extension Store is operated by Google, while the Firefox Add-on Store is operated by Mozilla (Firefox’s parent company).
You’ll be able to update and/or uninstall ArConnect here in the future.
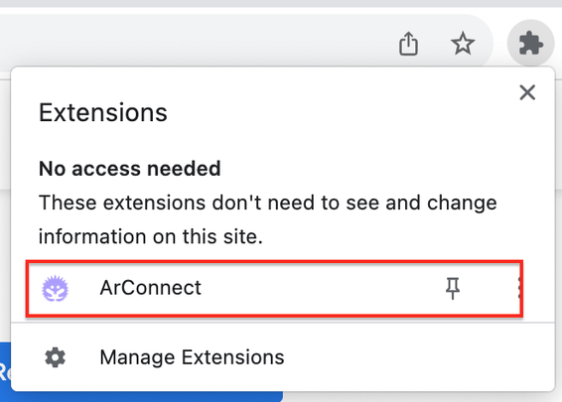
Once ArConnect is installed, it will open the onboarding/setup page. You can also open this page manually by clicking the extension or its icon in the extensions list of your browser.
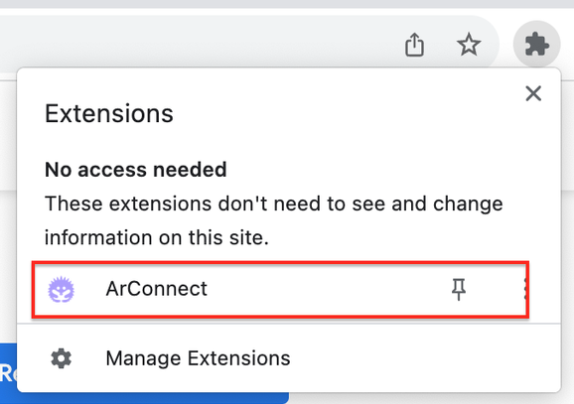
⚠️ We recommend pinning the extension for easier access to your wallet when using dApps.
Follow these steps to complete the setup:
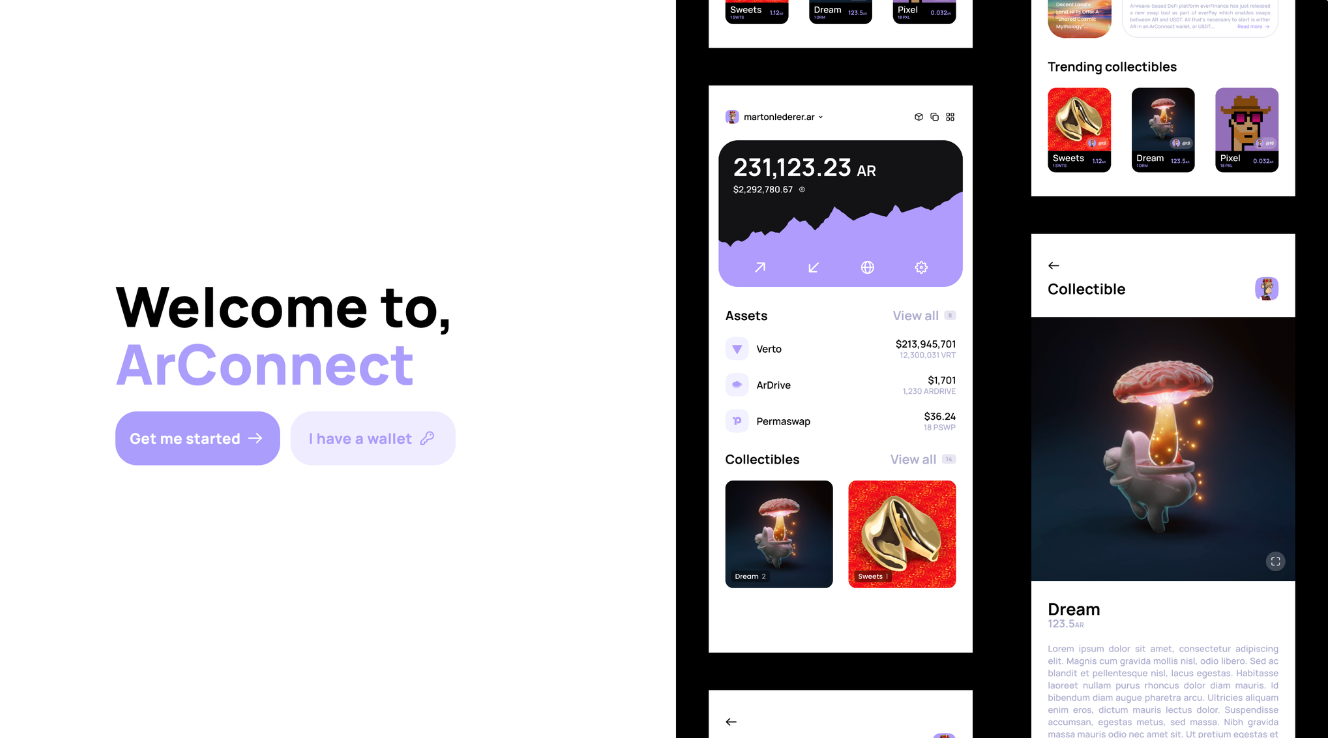
The setup page will look something like this. If you already have an Arweave wallet, you can click “I have a wallet” to load in your existing private key/ seed phrase. If you don’t have one, click “Get me started”. This will bring you to a page, where you can learn the basics about ArConnect, Arweave and the permaweb or skip the intro.
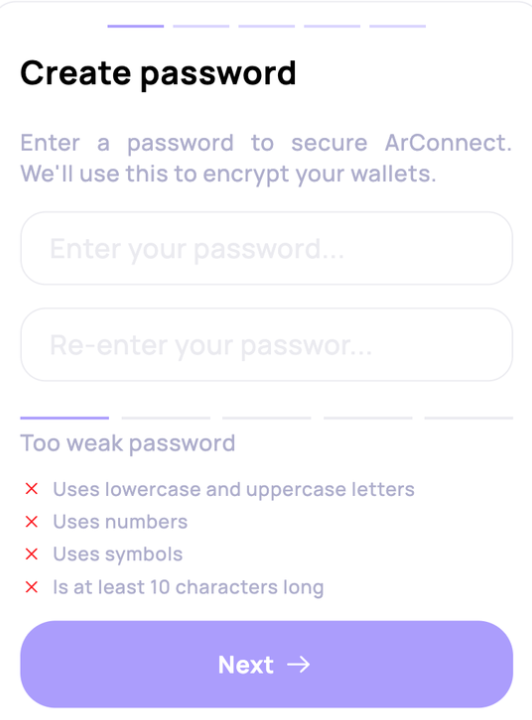
Next, you need to create a password. This will be used to encrypt your wallets within the extension.
If you’re not loading an existing wallet, the extension will now show you your 12 word seedphrase. This will be the primary way of loading your wallet.
🚨 Consider the following precautions when working with seedphrases:
The seedphrase is a set of words that can be used to regenerate your private key. And thus, access your wallet/s.
Hence, the seedphrase must be treated like a password.
Do not share it with anyone.
Write it down on a piece of paper.
We recommend you to also download your keyfile, which holds your actual private key (an RSA JWK). This serves as an additional backup.
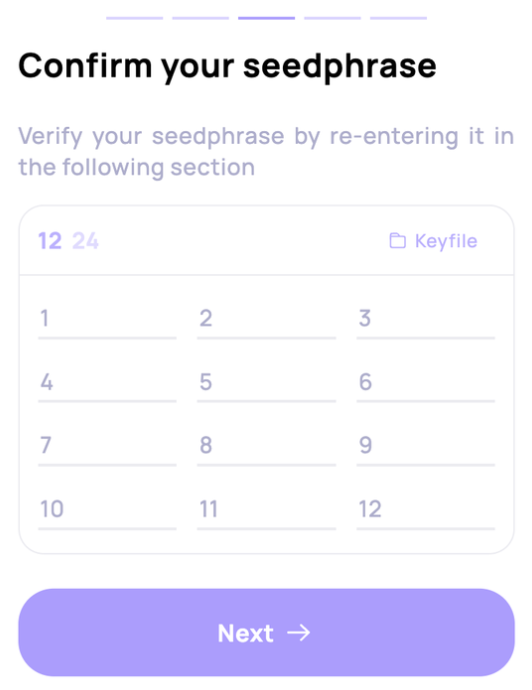
On the next screen, you’ll need to confirm your seedphrase. Word suggestions will make this a faster and easier process for you.
Next you can choose your UI theme (dark/light/automatic). You can change this later in the settings.
And you’re ready! Click “Done” to finish the setup.
You’ll now be able to use ArConnect with dApps, as well as to manage your assets. To open the wallet extension’s main page, click ArConnect icon in your extensions list, or its icon if you’ve pinned it previously.
What are Arweave gateways and its integration with ArConnect?
Read moreIf you haven't found help in our knowledge base, you might have encountered an issue we haven't heard about yet. Do not panic, we're still here to help! Below you can seek support from our team directly on Discord.
Get help
We use cookies to better understand customer needs