Browser Extension - Arweave gateways in ArConnect
What are Arweave gateways and its integration with ArConnect?
Read moreFollow these steps to send tokens to other users from ArConnect:
Open ArConnect.
Click on the "Send" icon within the ArConnect extension’s main view.

Click on the "Select Recipient" dropdown menu.
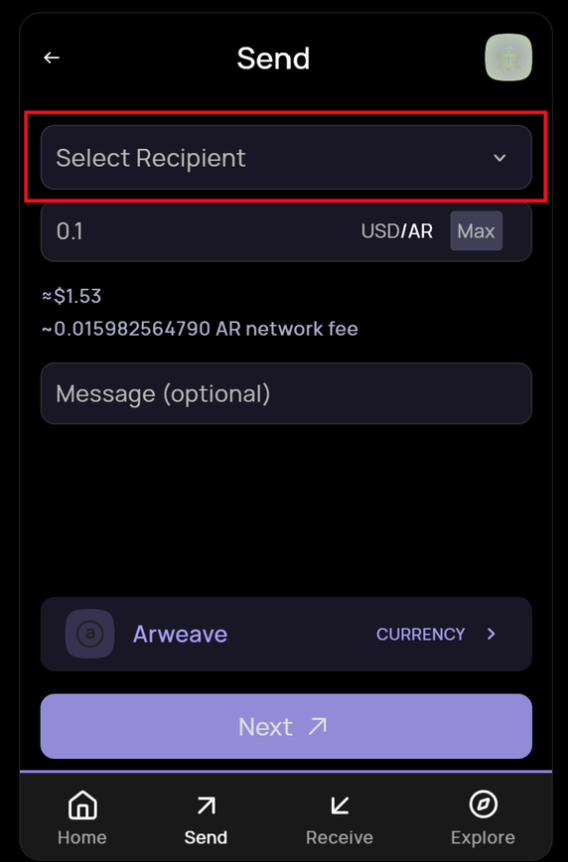
Choose from "Recents", "Contacts", or enter a new Arweave address or ArNS name.
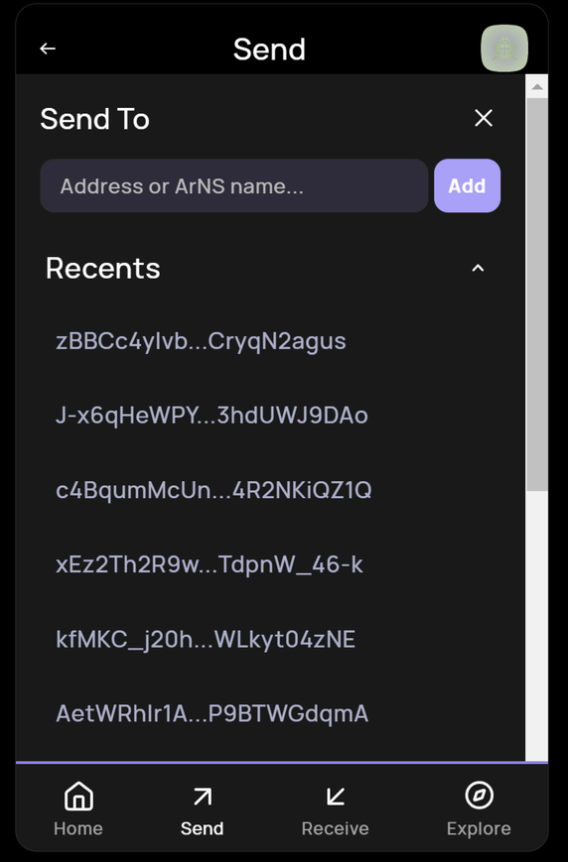
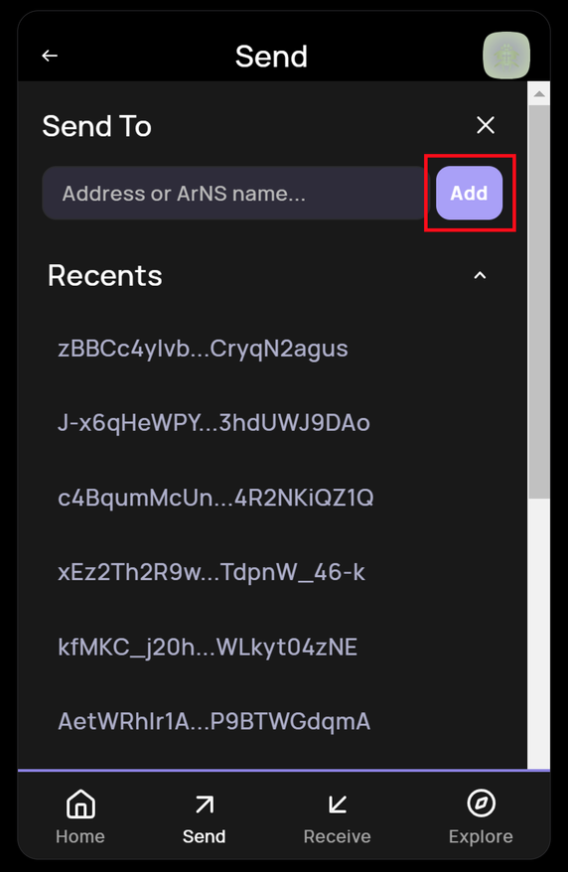
After selecting the recipient, click "Add" to confirm.
Input the amount you wish to send. By default, the input is in AR.
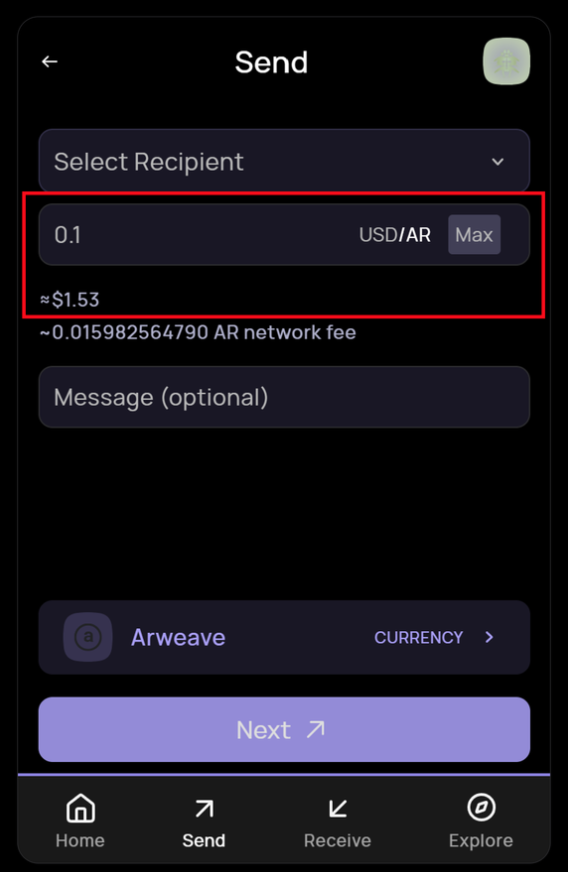
A preview of the amount in USD is displayed just below the input.
To specify a specific amount in USD and transfer the equivalent AR, toggle the USD/AR option.
Click "Max" if you wish to transfer all funds from your wallet. This automatically selects the maximum amount available for transfer, excluding network fees.
If you intend to transfer an alternate token, select the token from the dropdown menu before setting the transfer amount.
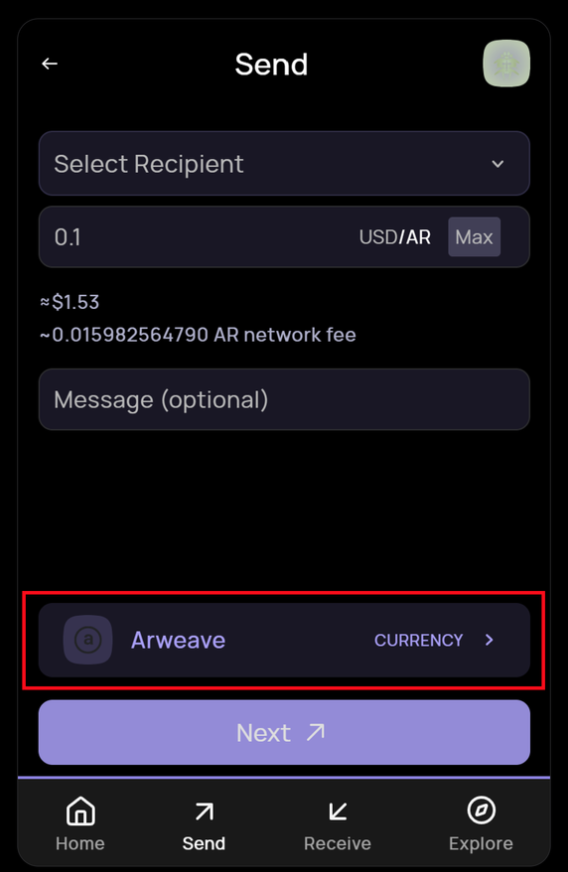
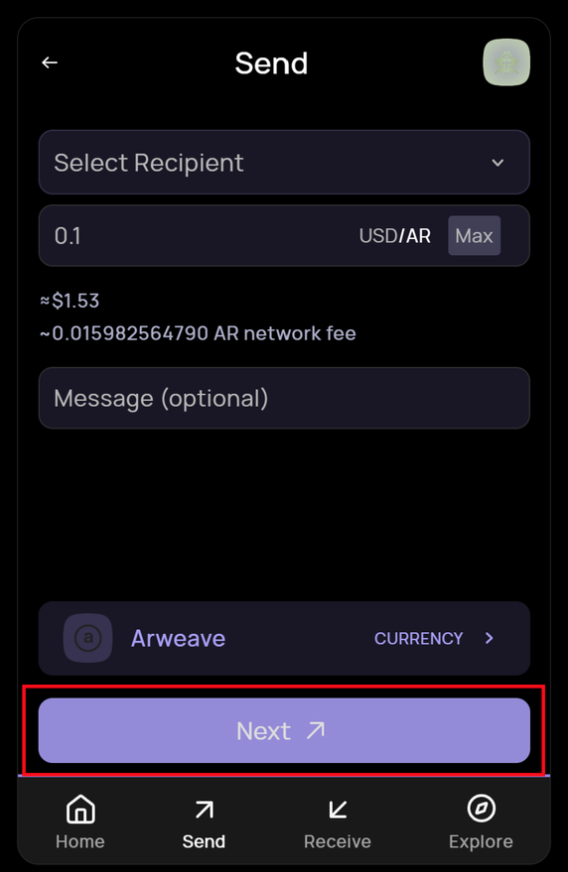
Proceed by clicking on the "Next" button.
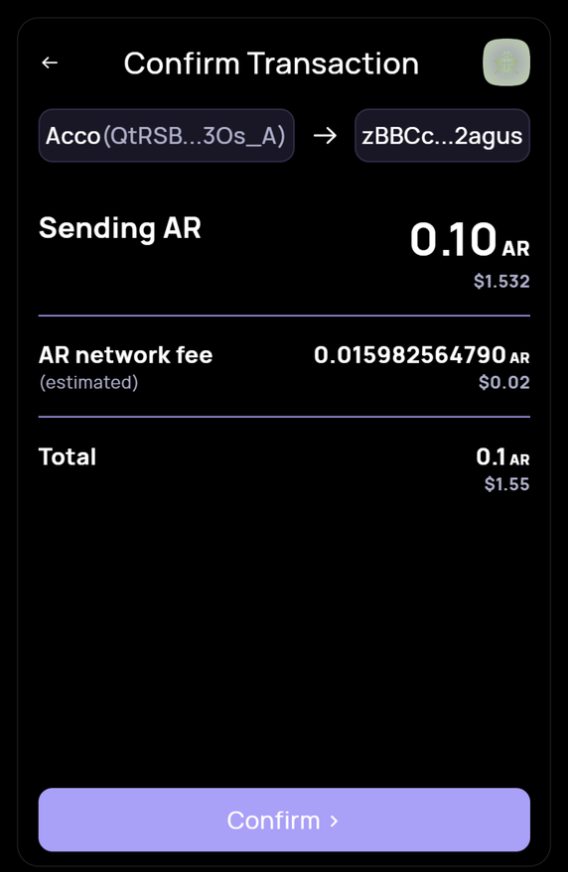
Review the transaction details in the confirm transaction screen.
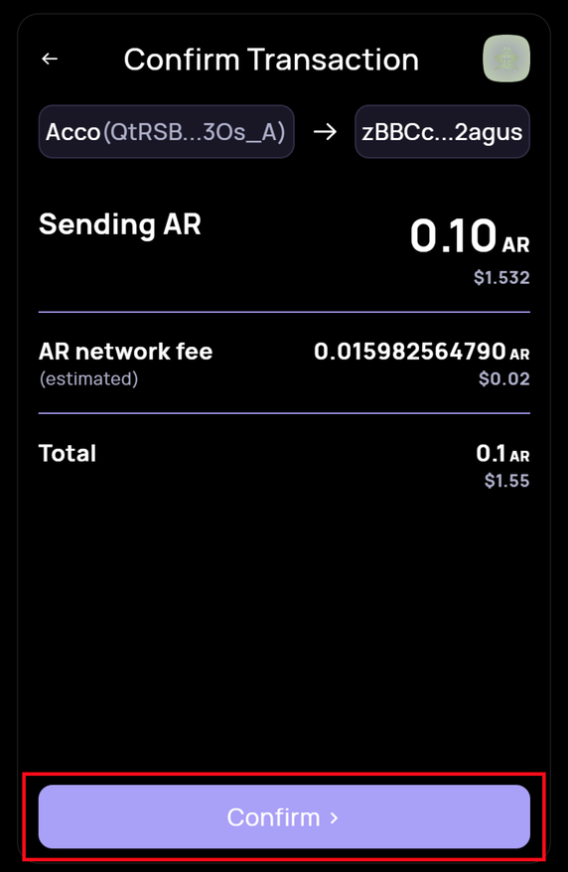
After reviewing, click “Confirm” to process the transaction.
On successful transaction execution, the extension displays a receipt with the details of the transfer.
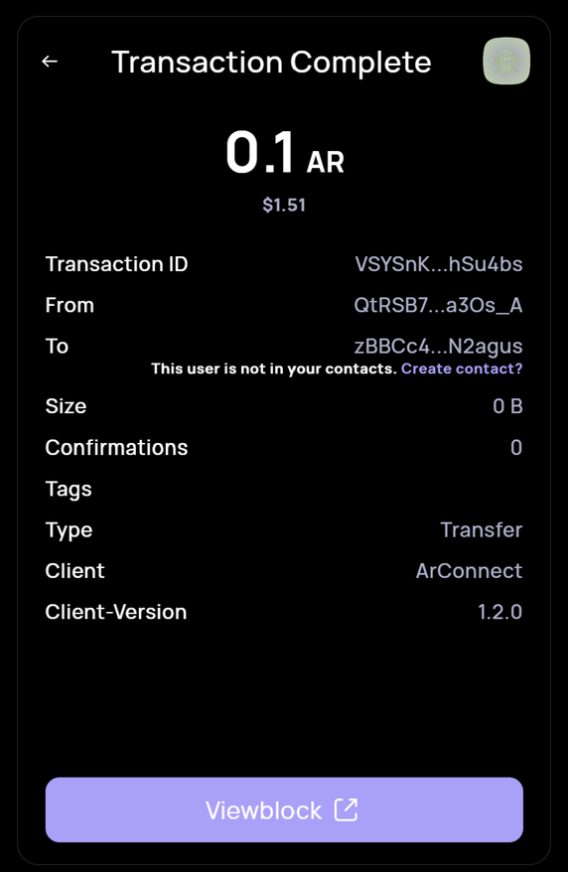
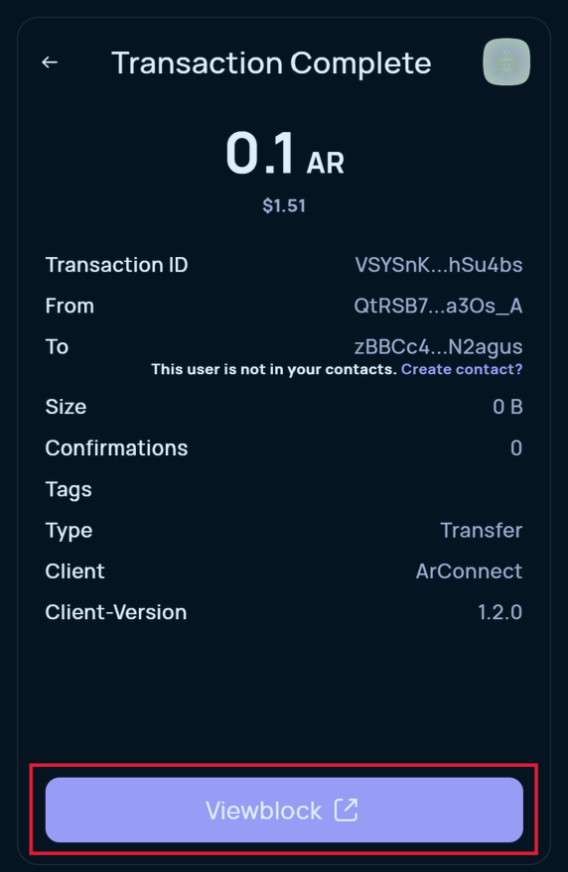
The receipt includes a link to view the transaction on the Viewblock explorer.
⚠️ Miners still have to mine the transaction at this point and hence it may take some time to be updated on Viewblock.
When transacting with an unsaved address, the receipt also provides and option to add the recipient as contact.
What are Arweave gateways and its integration with ArConnect?
Read moreIf you haven't found help in our knowledge base, you might have encountered an issue we haven't heard about yet. Do not panic, we're still here to help! Below you can seek support from our team directly on Discord.
Get help
We use cookies to better understand customer needs